belliesvsbedsheets

A DIY mommy with kids who love to get dirty.

The Corner Cabinet

We homeschool.  I’m not sure I’ve ever said that out loud here but it’s what we do. (DIY remember?)    I was homeschooled for many years and my husband for a few so it wasn’t a huge leap for us as we began planning for our kids school years.   Last year we did kindergarten (of sorts).  I was miserable pregnant for the first half and then had a newborn the second half so we were relaxed and loose with it.  I felt like we could be because our oldest was only 4 (her birthday is in Jan.) so we had some flexibility.   It was a good year.  We did Classical Conversations on Tuesdays (which we love), worked on letters and their sounds, numbers, and LOTS and LOTS of crafts art the rest of the week. 

This year however I knew it needed to be different.  Not because last year was bad, but because if there wasn’t a plan we slide back to that too easily.  I knew if I started organized that would carry us when the momentum of ‘bouquets of freshly sharpened pencils’ (name that movie) died out -ya know, 3minuets into our first writing assignment.

Getting organized for me, meant getting everything in it’s place and accessible.   

Enter the cabinet.

Image 

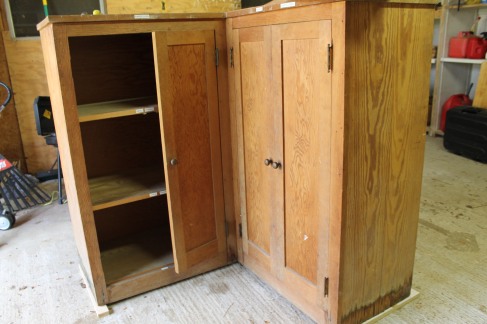
Our church had redone it’s small kitchen years ago and this was one of the pieces they pulled out.  They tried selling them but there were no takers so they passed the lot off to us when we moved in, telling us to use them or get rid of them.  

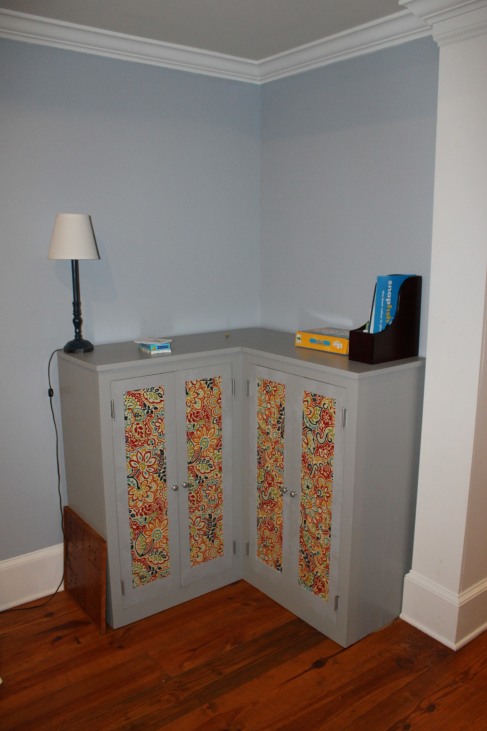
This piece in particular I hoped would fit in the corner of the family room and hold all the homeschool supplies as well as the box of games we had sitting in the corner.   Once I had a good look at it though I knew it was going to take more then a coat of paint.  

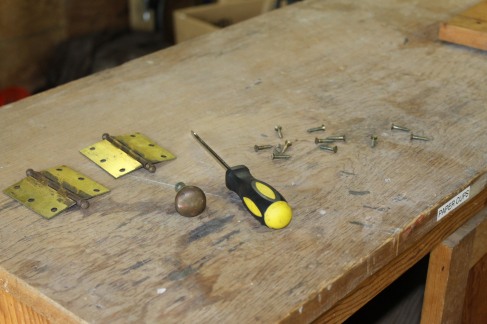
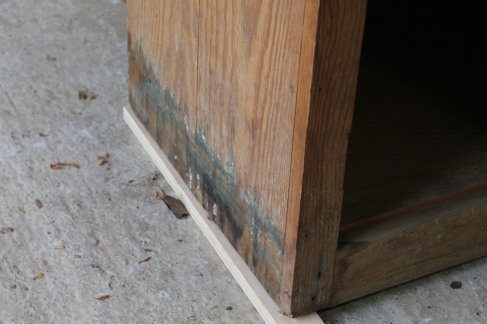
I removed all the hardware, sanded the whole thing, and bleached the bottom edges where mold had started to grow.

Image


Image

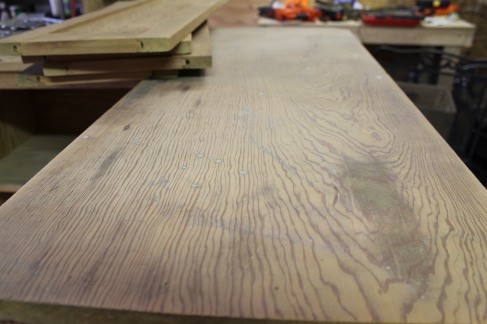
Then I sanded again. and again. and again. 

Image

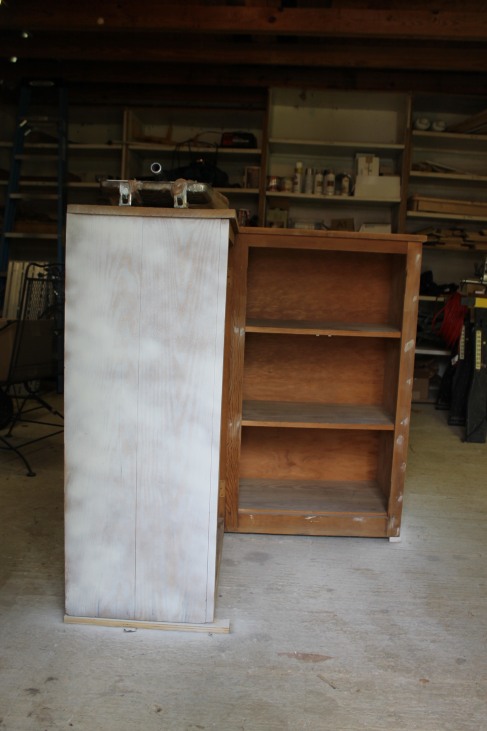
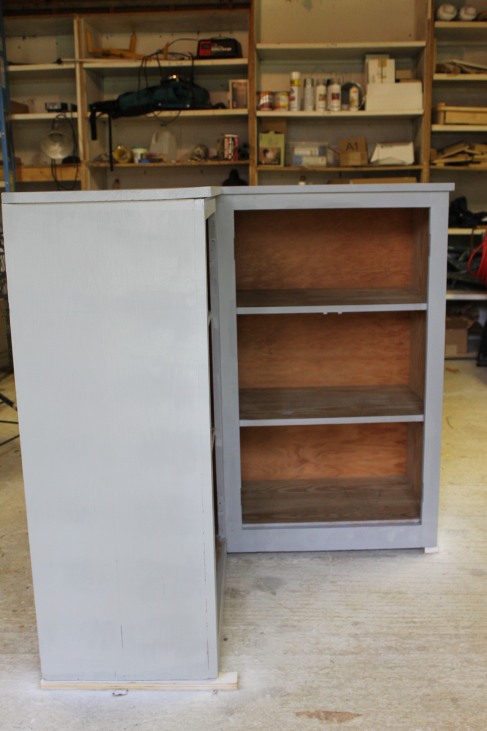
I primed the outside but didn’t do the inside.  Mostly because I didn’t want to go buy more Kilz and the inside looked pretty good with no mold issues.

Image 

(And yes, this is Kilz spray paint- my budget was small and I really just wanted the stain from where the mold had lived completely covered). 


Image

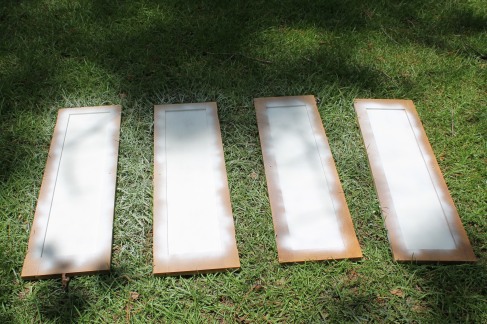
I also spray-painted the insides of the doors  because I had an idea and didn’t want the wood-grain to show through. 

Then the real painting began.   I would do a coat, then go feed the baby, play with baby, wash laundry, get baby down for nap, run outside and do another coat.   My older two kids were at the Grandparents (thanks Mom!) so this was my window to do a huge messy project without my 3yr olds ‘help’. 

Image

I filled a lot of holes with wood filler but didn’t try to get it perfect.  I didn’t have the time or energy, and I like a slightly lived in look (or I’ve learned that’s what works best when you have 3 kids under 5 that live with you).  

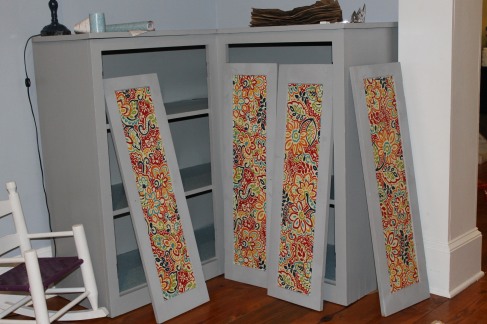
When my mom and sister brought my two older ones home my sister and I expermented with my idea.  We glued fabric into the doors.  I used mod-podge (about 3 layers) and then a poly spray coat at the end.   I LOVE what it did for the whole piece (and for my room). 

Image

I also spray painted all the hardware with brushed nickel metallic paint and just reused it.   I’m on the look out for new door pulls (maybe) but for now these work great and look so much better then before. 

Image

DONE!  It was a fun project, and has kick started my need for a couch cover and new pillows in the family room.   More importantly all our school stuff and games fit in there.  We are 3 weeks in to this new school year and the books still get put away there everyday.  Success!

Now about those pillows…
 

1 Comment »

Headed out of the fog

So baby arrived and is growing like a weed.  Clearly I don’t handle blogging and babyhood very well but as he grows my mind is clearing and I’m once again looking for projects to do so more will be coming soon.   I did get our kids playhouse painted.  Including painting a rug onto the floor.  I also refinished a corner cabinet for our homeschooling supplies.   I’ll post that soon.   Until then here is a picture of Baby E.   He was born at home on Dec. 5th and weighed 9lbs 8 oz.   We all adore him.   Image And here he is now-at almost 8 months.  Wow-time really does fly when you are having fun.

Image

One corner cabinet coming soon!  

1 Comment »

Shed Doors

Hi all,

We are gearing up for baby around here with just 2 weeks (or so) left till the due date.   My kiddo’s seem very happy on the inside and have come late (10 and 8 days) so it easily could be another 3 or more weeks but I’m still trying to be ready.    So while I scrub bathtubs and wash itty bitty sleepers I thought I’d back up a bit and give you a glimpse of one of the projects we (and by that I mean my darling husband) got done early this summer-you know when I was laying in the bed gagging and trying to find a way for something other then the TV to raise my kids.

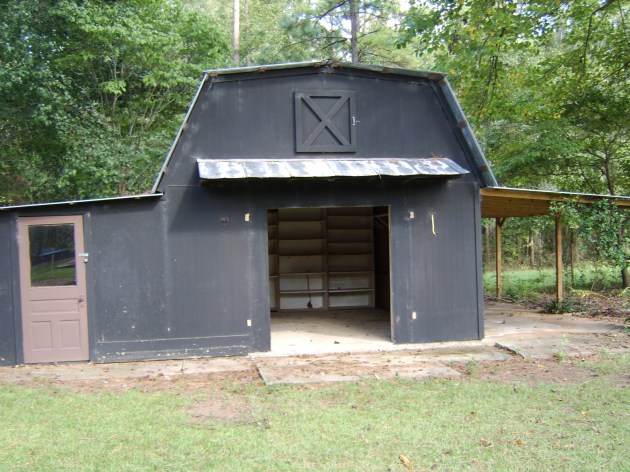
Enter-our beautiful shed.  (and by beautiful I mean, just look at all that storage!)

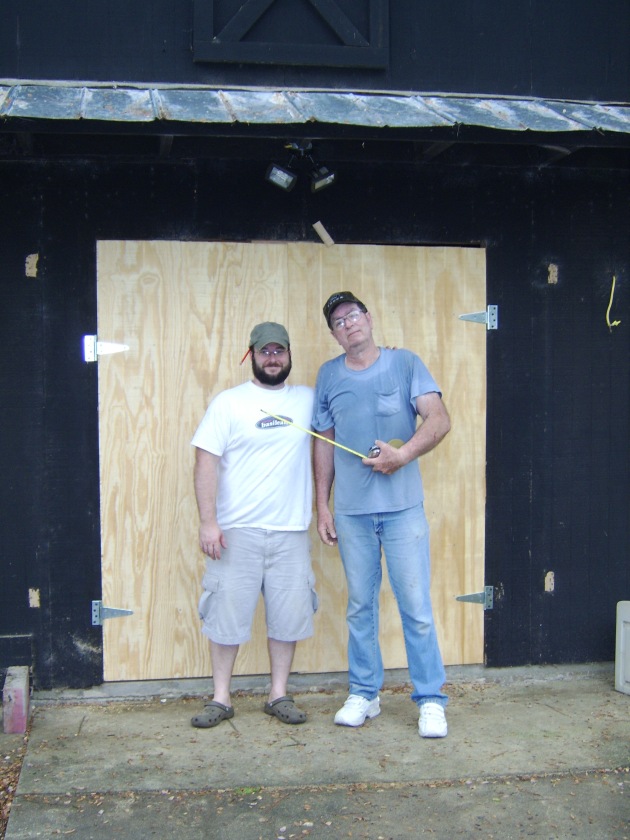
So one of the things that the previous owners took with them was the shed doors (and exterior lights).   Now we lived with it for quite a few months, only storing in the small side room -behind the brown door, and leaving only what we were willing to part with in the big section.   When my brother and Matt came to build the kitchen they also threw up some lights so that they could build late into the night.

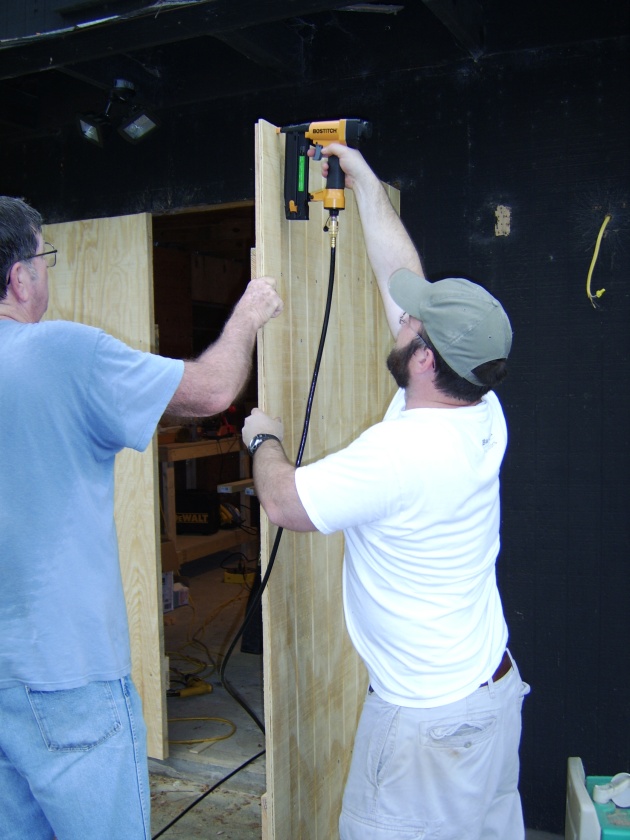
With the arrival of spring and the desire for a garden and a yard that needs lots of ‘tending’ the tools (and toys) started to pile up.   The shed doors needed  to be installed before we went any further.  Enter Uncle Jerry.   Uncle Jerry lives in FL. and has several sheds/barns all filled with the tools/toys a boy/man could dream of.   Included is a working saw mill.   Oh, and did I mention Uncle Jerry lives on a pine farm?  One Sat. bright an early he pulled up with a trailer full of newly milled pine boards.  I didn’t get out there right away with the camera so by the time I did they were already hanging the doors.

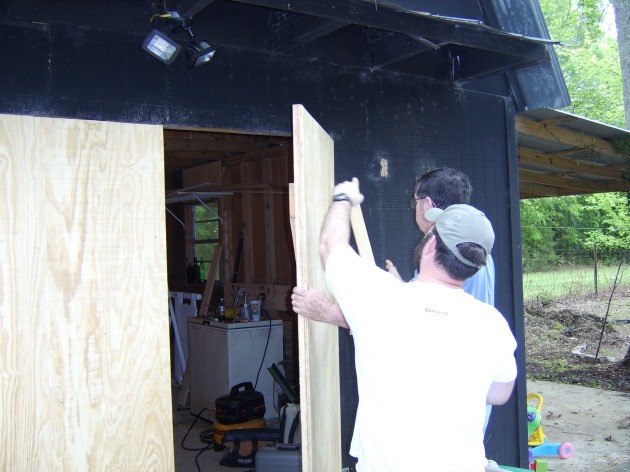
They then attached a wood facade to the front so that it would match the rest of the shed.

We talked to lots of people about sliding shed doors vs. hinged doors and while the sliding doors seem to be everyone’s favorite we had several design issues we had to work around.   The electrical would have had to be moved, and to both sides of the doors there are other ‘things’ , the small storage area to the left and the lean-to to the right.  Both which would have been at least partially covered by a sliding door when open.   So we went for the big heavy duty hinges and so far love them.

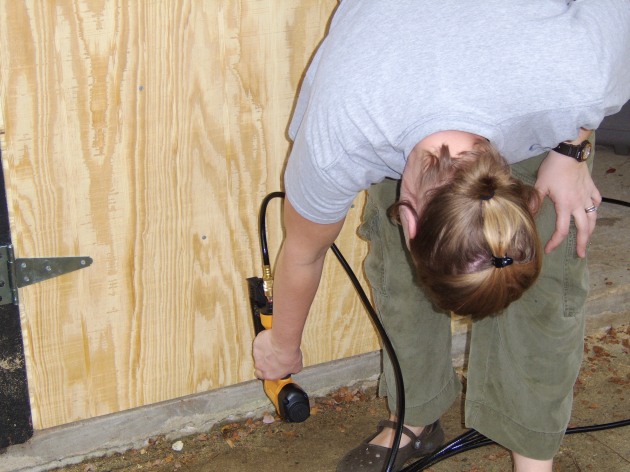
I had yet to use our brand new nail guns so I got to ‘help’ -still not sure I was doing anything all that useful but I sure do love a good nail gun!

The men also put a inside lock inside the one side door so that you can open just one door at a time and also put the old fashioned swivel lock at the top of the other door so we can have it unlocked but the kids can’t get into it.

It was a fun morning project and the guys did a GREAT job.   Here they are-so proud of their work  (and between us-I can’t wait to paint the hinges so that the off-set top one isn’t so obvious!)  🙂

Speaking of painting, my dad primed the doors the next time he was in town and just last week I found some opps paint in brown to finish up the project.   A black shed with brown doors isn’t the long term plan but it works great for now and will keep those doors protected.

Happy Week-Till-Thanksgiving.   Some gift ideas coming soon!

~K.


Leave a comment »

A recipe

Hi again,   I wrote this post and when I went to upload it…poof, it vanished into the neverland that is is web-space so here it is again but minus all the witty and amazing things I said the first time.

I have about 7 or so weeks left of this pregnancy.   It’s been rough.  I had WEEKS of morning sickness, followed by insomnia, followed by intense hip pain and all wrapped up in a cute bow I like to call reflux.   My hubby told me the other morning when I was bemoaning getting out of bed ‘I know you didn’t sleep well, you tossed and moaned all night’.   Poor man-he isn’t getting any sleep either.

So, I’m sure you are hoping I did not log-in just to tell you how bad my pregnancy is.   I didn’t.   I came to give you a gift.  This wonderful recipe I’m about to share has been around for a long time.  You can find versions of it everywhere.  This however is my version and it (along with my amazing husband and darling kids-of course) is the reason I drag my whale-like body from the bed each morning.

Vanilla Cappuccino Mix

1 cup powdered creamer (I use plain or french vanilla)

1 cup Nestle Quik

1 4oz box Maxwell House International Cafe Beverage Mix (I use decaf. French Vanilla or the Swiss Mocha)

2/3 cup instant coffee (I use decaf.)

1/2 cup sugar

1 tsp. cinnamon

1/2 tsp. nutmeg

1 vanilla bean cut into pieces

Toss all ingredients together and store in an airtight container.    Use 3-4Tbs. per mug of hot water.   Feel free to add half n. half, if you, like me, love it uber creamy.

Note:  The vanilla bean is for flavor purposes only and should not be put in your mug.   Pieces can be used for 2-3 recipes (of mix) depending on how quickly you go through it.  Smell them to know if they still have flavor power.  Discard when smell is gone.

Enjoy your mornings (and evenings, and anytime you need a little sweet and creamy pick-me-up)!

Leave a comment »

Where’d she go?

Hi all,

So I’d love if this post was FILLED with picture after picture of all the hard work I’ve been doing and therefore I could excuse my absence that way but in fact…

I have not done ONE SINGLE THING on this house since almost  finishing the painting in the Family Room (trim is still not finished).  Why, you ask?  Well, I’m pregnant!!!!  # 3 will join us in early December!

Since discovering this exciting fact I have spent HOURS, laying in bed, swearing up and down that this is my last pregnancy EVER!  I’ve gagged, wept, slept and gagged some more.  The TV is raising my children and the house, well lets just say, if we had to put our house on the market today, we’d have to take a lot less for it then we bought if for (and we put in a KITCHEN!).   🙂

It’s bad folks!  I’m completely embarrassed for even the UPS man to knock on the door.   We’ve had family stay twice and both times I’ve managed to drag myself to the vacuum cleaner and push it around a bit, and once I even cleaned the bathrooms (kinda) but in all truthfulness the place is falling apart.   Yikes!

I’m 15 weeks along now and any day now I fully expect to get that second trimester surge and go zipping around making our house a home again.   This pregnancy is a dead ringer for the one I had with my daughter and in that case I should start feeling better in about a week or two.  (I was 16 weeks with my daughter when the light finally dawned).

Until then, we will just keep having popcorn and apple-sauce suppers and praying  extra LONG nap times for everyone.

Be back soon-I hope!

-K

1 Comment »

Family Room~Finally

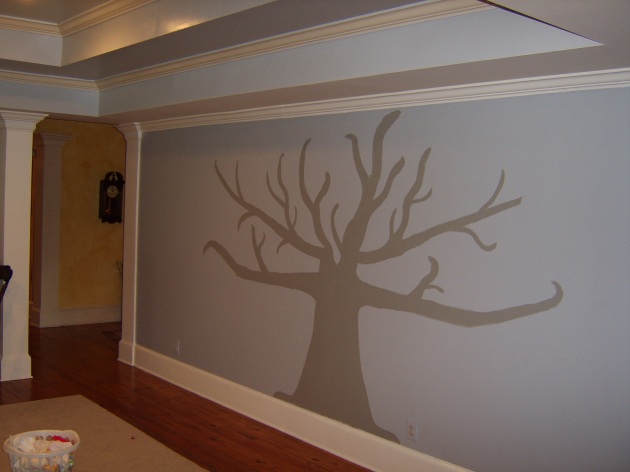
Whew!  Painting large rooms during a 1 1/2 hour nap time in the afternoons means LONG project times!  Finally all the but the crown molding in the trey is done!  I LOVE the way it turned out.   I haven’t hung the family pictures on the tree yet-another project that is tricky with kiddos, and I haven’t ordered the curtains.  Will be doing that as soon as my teaching check comes in.  🙂

The kids were so excited when the pile of stuff was moved out of the middle of the floor and they could ‘wrestle daddy’ on the carpet again.  We are all enjoying our bright happy room.

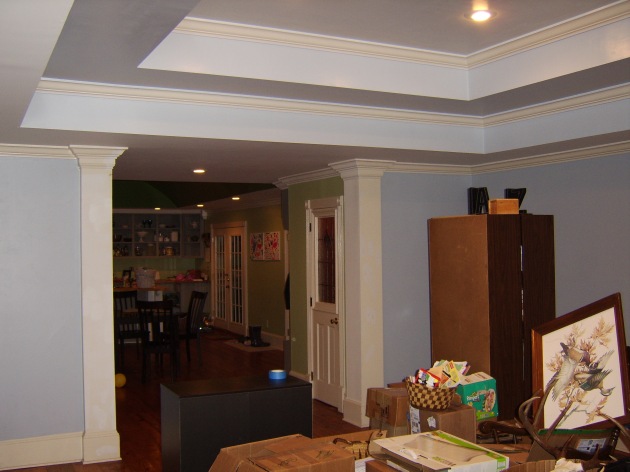
Here is the ceiling before beginning…


Here is the lightest color…

And then the sides…
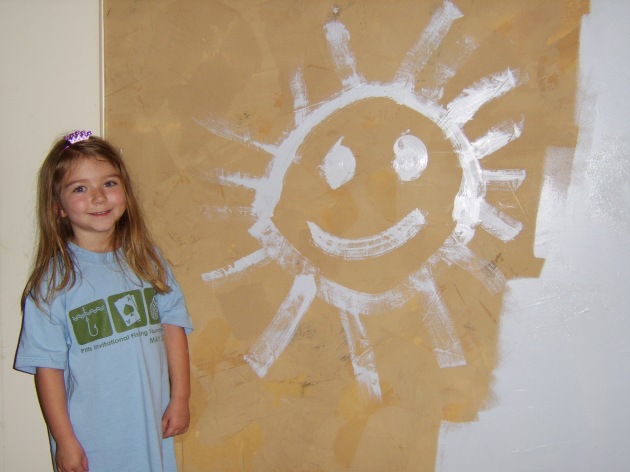
I was so excited when I finally had this much done!    Moved all those boxes to the center of the room and got started on the walls… I also had a pretty cute helper!
And then we got to here:

and here…

And then all that was left was the trim and putting it all back together.  Today it looks like this…

And the family tree (in progress)

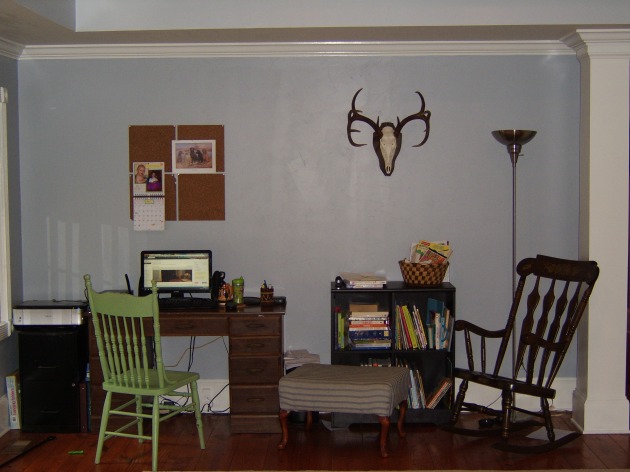
It’s good-it’s coming along and I’m thrilled to have most of the dark tan/brown look gone.   We are done painting for awhile! (CAN  YOU BELIEVE IT??)   -I mean, the hall and half bath, and laundry room are all pretty desperate but we are taking a painting breather… meanwhile I’ve got the garden in and have LOTS of other projects to finish up.

See you soon!


5 Comments »

Quick Update

So I bought the paint for the Family room this week.  I’m so excited.   I’d post pictures but I haven’t started painting yet.  Hoping to do that this week.  I decided to keep it light.  I went with the lightest of grey-blues for the center ceiling then one shade darker for the ‘trey’ part (called Abracadabra!) and then the darkest for the walls.  Meet, Pins and Needles.  I think the navy curtains are going to work well.   Promise to post more as soon as we get going on it.  Also going to have to patch a small hole in the ceiling so it will be exciting.  🙂

In other news we got the last vanity installed this weekend.   I’m planning on doing a whole series of posts on the bathrooms soon but for now we are brushing our teeth in our own Master Bathroom and except for one remaining tub spout (who’s base size restrictions are making finding a match tricky) we have all our bathroom stuff done.   WOOHOO!    Let me tell you, when we moved in that 2 weekend in November I never expected that we’d have SO MUCH done before April!    Kitchen, bathrooms, painting, and all kinds of Misc stuff.  I’ve even started planning a garden.   Yep, it’s been an amazing ride so far.   Thanks for coming along with us.  I promise MUCH more to come.  (Like shed doors made from Pine boards that Hubby’s uncle is milling for us!)

Until Next time!

~K


Leave a comment »

Kitchen Part 3

I’m back!  Here is Part 1  and Part 2  if you haven’t already read them.

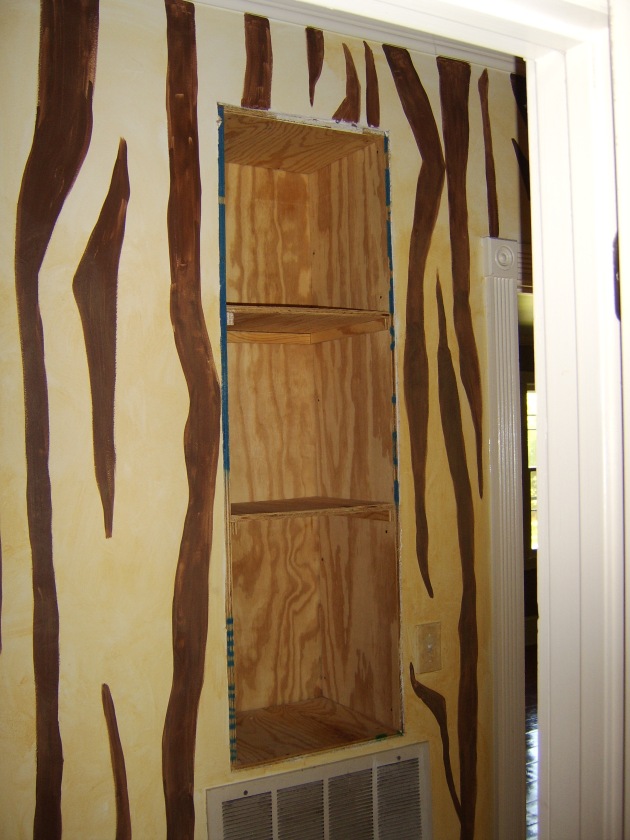
So the guys got my island in and went right back to work on the pantry.  This house doesn’t have much in the way of storage.  There is a closet (nice ones) in every bedroom and this funky space in the hallway…  (yes, the hall is tiger inspired-don’t have a plan for that yet!)

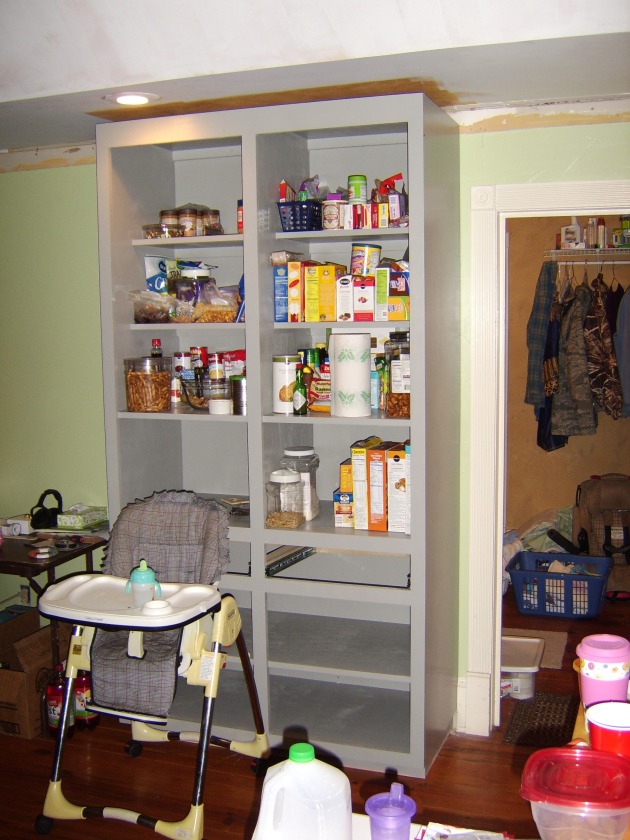
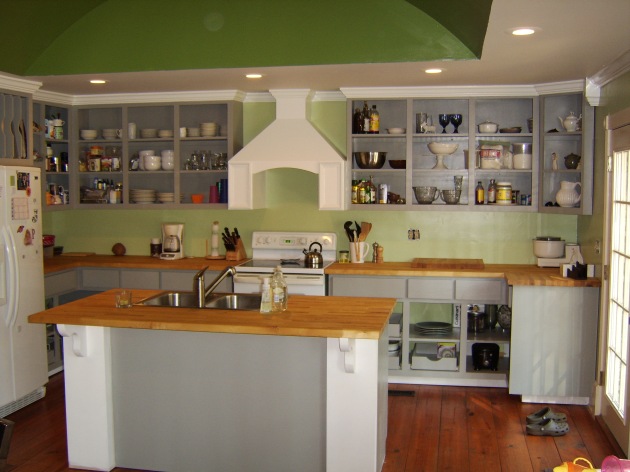
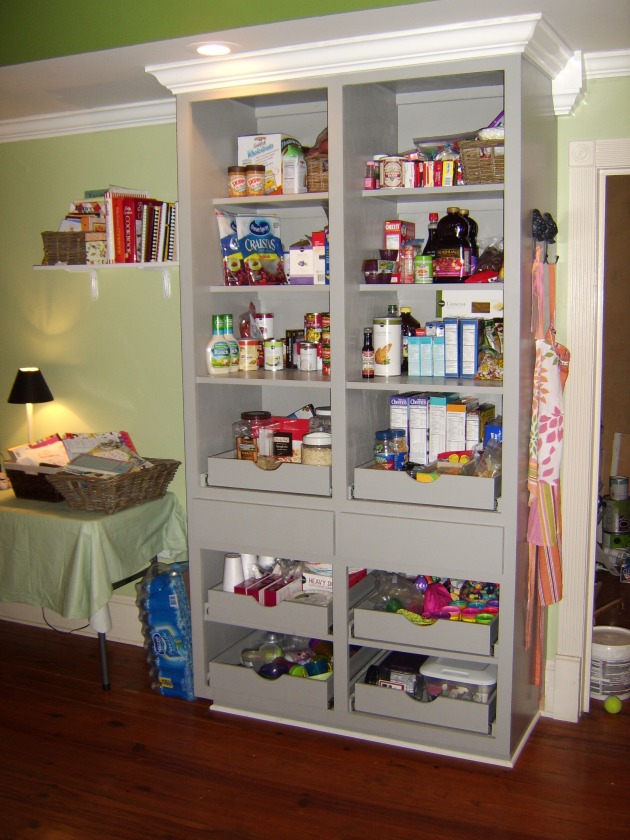
But as far as storage that is about it.   The laundry room is huge and once I tackle that room I’m sure it will store LOTS but currently storage is at a premium around here.   Hence the need for a proper pantry.   Now, I can’t remember if I’ve mentioned this before or not but we looked at a LOT of houses before we bought this one.  Close to 50 would be my guess.  Even had a contract on another one which fell through (and now I’m happy about that but at the time…)  Anyhow- one of the homes we looked at had this AMAZING walk-in pantry.  It had varying size shelves all around, floor to ceiling, it was by far the nicest room in that house!  🙂   So, you can understand that when it came to planning the pantry I had high expectations.   I wanted it in the kitchen, I wanted it BIG, I wanted drawers and pull out shelves and when it was done-I wanted everything to have a place.   Matt and I had talked through it on that first day but once the island was in we walked through it again.  Then they went out and started building.  By Tuesday (this is in the week leading up to Christmas) it was sitting on the back porch being primed as the rest of my family pulled in.  By Wednesday it was in the house.

Here Matt is finding the studs to attach it to the wall.  And here it is (food went into it almost instantly as we needed the space desperately!

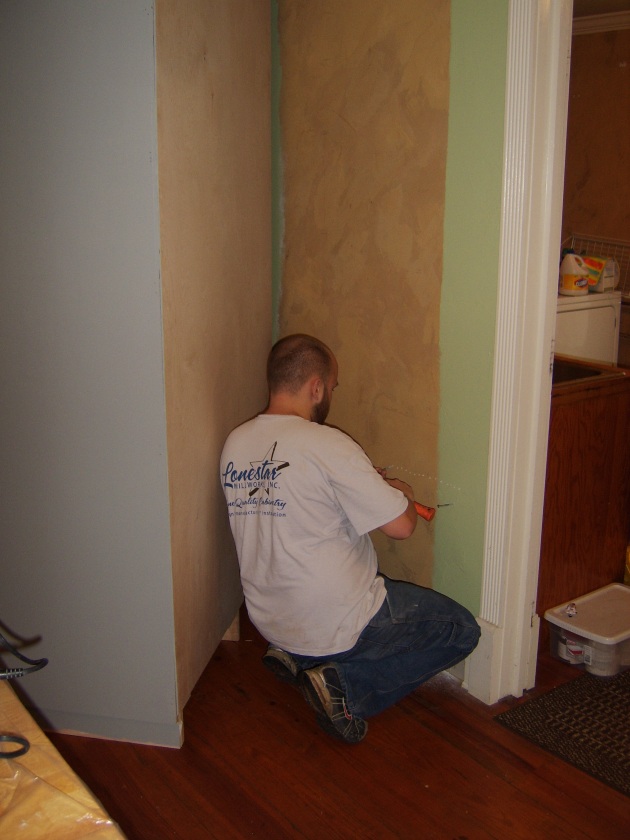
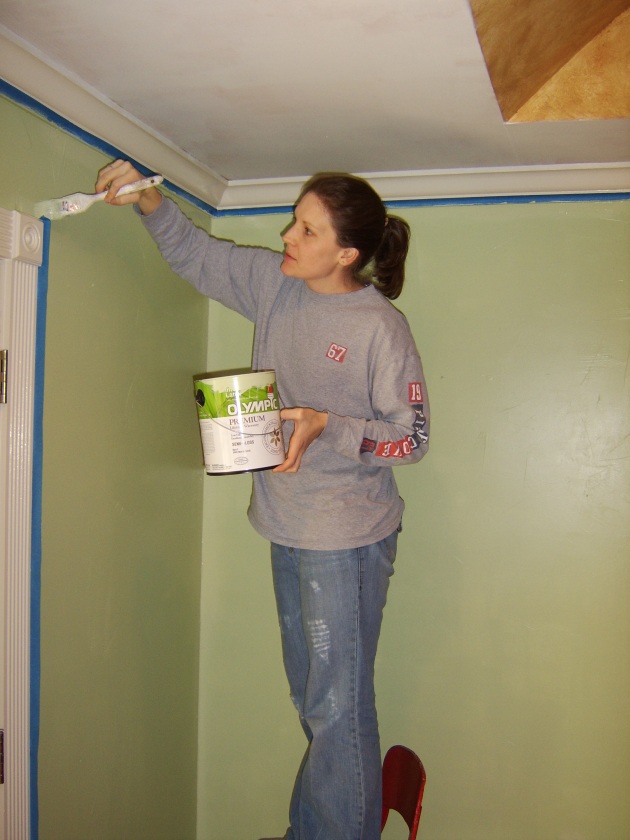
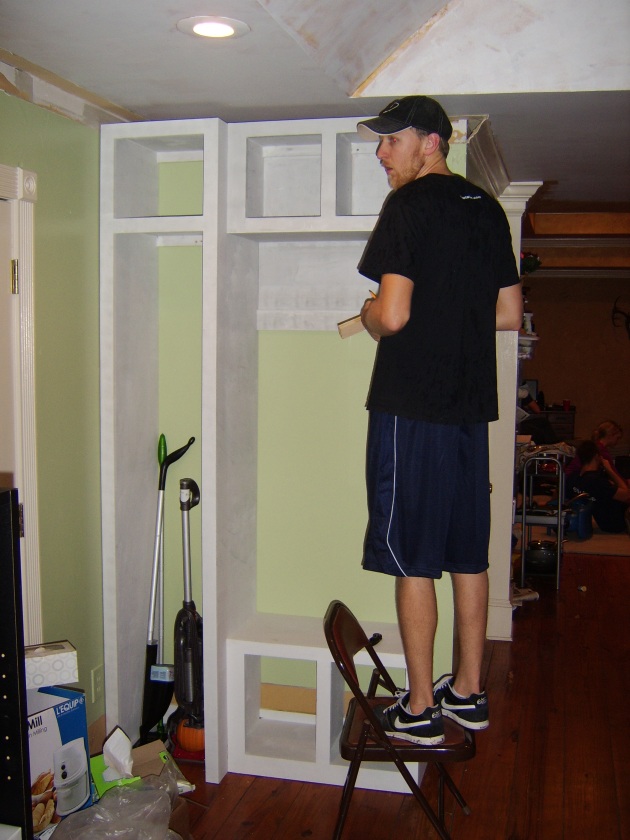
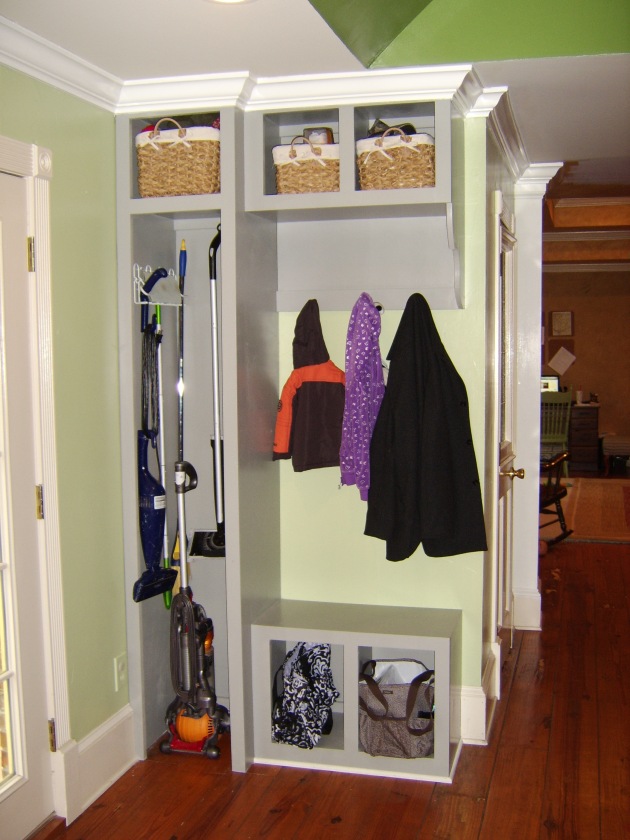
This is before drawers and sliding shelves but it was in and we could use it.   The guys then told me they had time and materials for one more thing.  We’d talked about a built in desk type thing and a broom closest.   When they asked me which one they should do I jumped at the chance for more ‘hide-it-all-away’ storage and went broom closet.    This one my brother drew up-he’d done a mud bench for his wife like this so adding the closet was pretty easy.   First my SIL painted the corner quick…

Then Philip hung the unit.

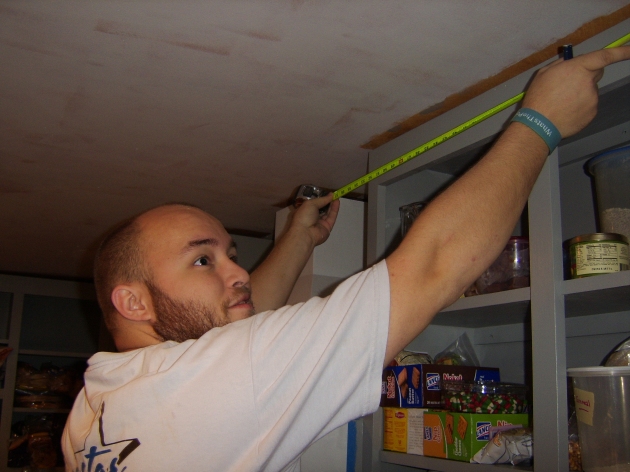
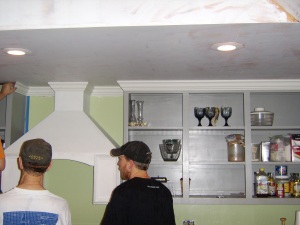
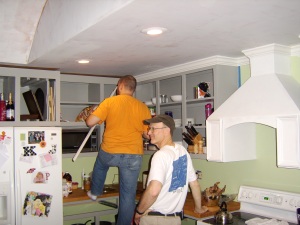
The last thing they did before climbing back in the car Friday and driving the 16ish hours home was hang the trim.   Now crown molding scares me.  I LOVE it-think it’s beautiful and makes the place look finished but have any of you ever tried to measure and hang the stuff?  I have-and then I passed the job to my husband who along with my dad worked on it for several hours.  And they weren’t doing anything too fancy-just a simple top of the wall around a fireplace deal.  None of this in-and-out-and-around-a-cabinet business.  Here is where the right tools and the right brain (meaning a lover of all things number related) are a must.   Matt (and I’ve since seen my brother-in-law do this too) simply took the measurements, jotted them down on a napkin, went out to the saw, told Phil the cuts and they came back 30 min. later with a pile of Crown cut JUST RIGHT!   Want proof?

He measures…

They cut and install,


and we go from this…

to this…

And the pantry and the broom closet??  They now look like this…

and this…

Amazing right?  I still just stop and stare sometimes.  I do so love my kitchen!   We love you Philip and Matt!  Thanks a thousand times over for all your amazing work!

In case you are wondering, yes we will get doors (eventually)  I am not completely settled on what I want yet (are you noticing a theme there??) so we will wait for a while.   The pantry doors will probably be the first to come because having all our food out there like that means I’m always in the mood for a snack.  Not Good!  🙂  Until then, I’m motivated to keep things looking as organized as possible and the kids LOVE helping me find things.

Back soon

K!


1 Comment »

Tray Ceilings

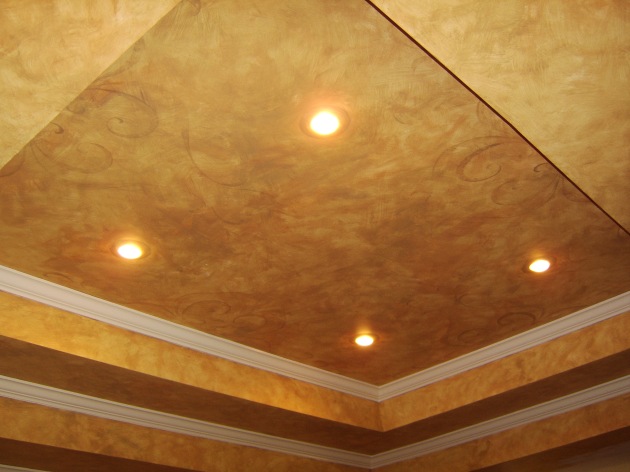
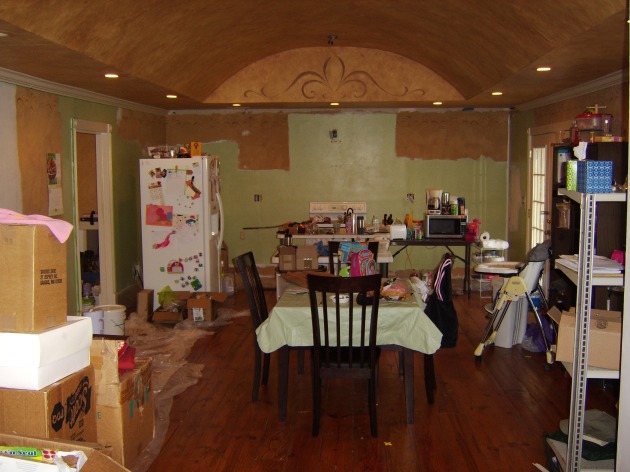
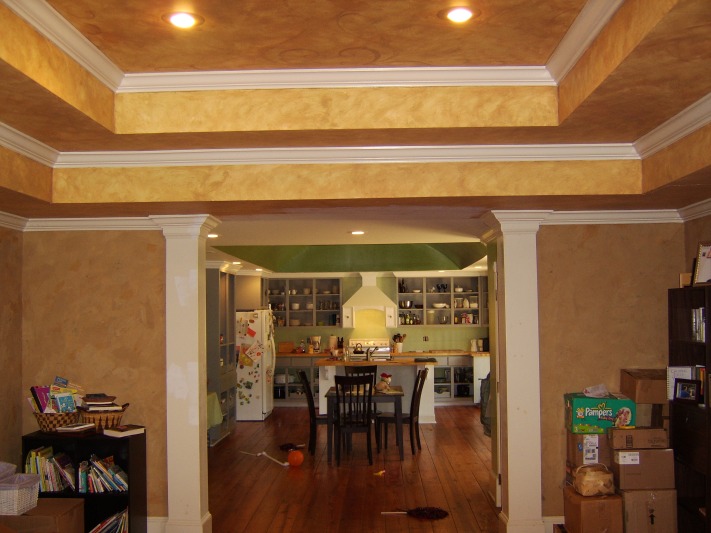
So our home has beautiful ceilings. Beautiful!  It’s one of the reasons I could look past the empty space that was the kitchen. Could see beyond the holes in the ceiling’s where lights should hang and could envision living here.  The high arch in the kitchen,the steep cathedral in the bathrooms, and the Tray(ed) in both the Living Room and the Family room.

Can I just interject here that I never get ‘tray’ right?  I have to look it up every-time, and then I don’t really know how to use it-can one be found ‘traying’ a ceiling for example?   -sorry just a moment there…

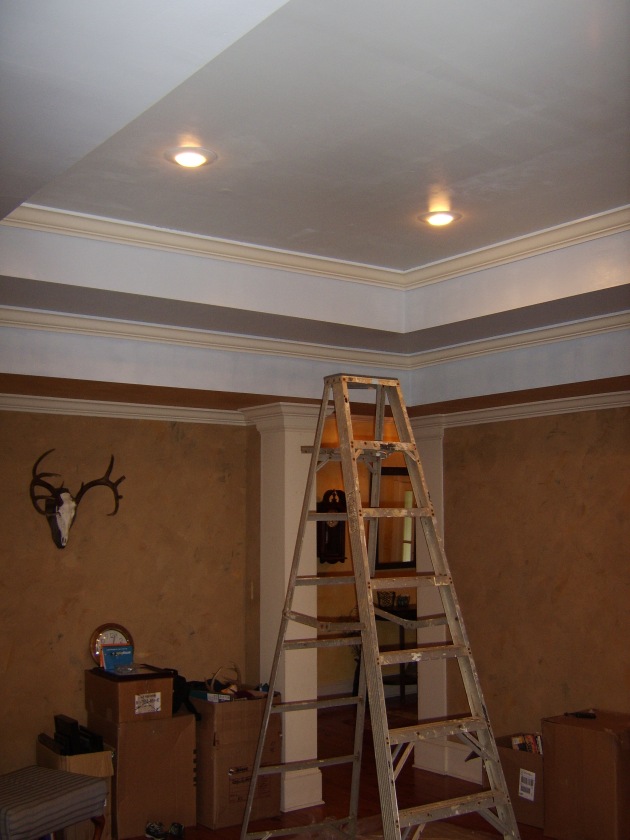
Moving right along.   We are moving into another HUGE painting project.  This time the Family Room and I have been putting it off because of the ceiling.  After looking up pictures of what people have done to their ceilings I’ve decided simpler is better.  I don’t want it to be a distraction.   But, I do need some advice!   I have a ‘family tree’ that I intend to paint on one wall of the room.   It will have (mostly) black and white family pictures all framed in black.   I thought to do a light wall, dark tree shape, then add photo’s-pretty straight forward right?  Then the ceiling stepped in.   I have to paint the lowest part the same off- white as the kitchen because the ceiling extends all the way through (note the ceiling by the columns).

I choose the off-white because it could do both rooms and stay nice and neutral.  But now, now I don’t know what to do for the rest.  Use that same off-white (called Sandstone) on the walls?  Find a light gray-blue I like? Go dark and do a light colored tree (that option doesn’t seem the best given the dark frames I have on the family pictures)?   I did find curtains I’m in love with at World Market this past weekend (they are more navy then gray), and given that we want to eventually put the TV in this room, nice dark curtains would be good.   Also, all of this effects the ceiling.  While initially I thought a darker grey-blue, I’m now leaning toward something not so dark.  Contrary to popular belief (Mom :-))  I don’t have to paint every ceiling a dark color even tho I really do like that look .   So, here is another picture of the ceiling.  If anyone has any suggestions I’d love to hear them.

And please ignore the mess everywhere except the ceiling-I snapped these quick and didn’t do any picking up first.   Also note that I had all but 2 of our book boxes unpacked when my in-laws brought about 20 more of my hubby’s books from their house.  Glory!  I’m going to build my own book shelves before this is all over-just watch me.  🙂

In other news I picked up 2 ceiling fans and we were given another ceiling light so 3 more rooms with proper lights after this weekend!  So excited!

Promise to do another kitchen post next…

2 Comments »

Kitchen Part 2

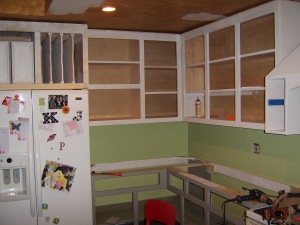
So you should read Part 1 if you haven’t already because I’m going to just pick right back up where I left you.   My beautiful lowers were primed and installed and my walls were painted (at least in the spots that the cabinets were going).

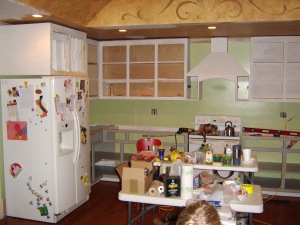
Friday the guys were back at it.  Their goal was to get all the cabinetry installed before the rest of our family showed up for Christmas.  Before you could say boo, the uppers were sitting outside awaiting their priming.   We also decided to go ahead and paint the lowers as quickly as possible since I didn’t want to put stuff on them until they were actually ready for it.

There was a moment before the uppers went in and as we were painting the lowers that I looked at my sister and said, ‘does this look like a kids preschool?’   She hemmed and hawed and told me we needed to wait till the paint dried before we decided.  The next morning (after we agreed that we actually liked the green and grey) she told me that she really had thought -yep, looks like a kids room.  I’m so glad she choose to wait before telling me that.

The guys had the uppers in before we knew it.

The vent-a-hood took a full day of measuring and cutting every piece just right.  When it went in, I fell in love with it.   At one point we had talked about doing stainless appliances and the big stainless hood vent but we ended up doing white appliances.  I knew I wanted a stand-alone hood so this is what the guys came up with.

I’ll show you the coolest part of it in a second.

Here is the view of the other side of the fridge.

It was amazing to get to this point.  Every morning I’d walk into my kitchen amazed at the transformation.   While the guys were getting all this done the girls and I were trying to stay one step ahead on the painting.  You can see in the above picture that we had a few ceiling holes to patch as well as different paint colors to try.  The color I had chosen and had mixed turned out WAY too tan so I saved that for another room and went back to the drawing board.  The hardest part about the ‘low’ ceiling is that it continues into the family room so I needed something that worked with the greens in the kitchen and would also work with the family room (and I STILL am not completely decided on those colors).   We ended up with an off-white called sandstone.   I love it-the High Gloss Bright White trim looks sharp next to it but it is so clean and bright by itself that it really lighted the space. But, I’m getting ahead of myself.

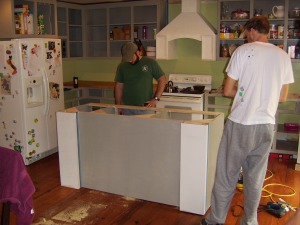
The guys still had the pantry and the island to build.  I put in a request for the island to be next as I was VERY excited to get my sink in.  WooHoo an island! Complete with my dodo bird brothers (Love you boys)!

Here is the plumbing that was all alone in this room when we moved in, now surrounded by BEAUTIFUL cabinets!

And notice that Vent-a-hood?  Ready for my favorite part?

It’s a Spice Cabinet!!!!   This was one of those ‘custom’ things Matt is a master at and wow- I LOVE it!

I’ll be back soon with the Pantry, Broom Closet, Crown and Trim.

Until next time…

Leave a comment »

Nic and Jacelyn

The Dynamic Davidson Duo

Beverly and the Onobasulu

Where would you be without God's Word in your heart language?